

Better Curve Modifier
Blender’s default curve modifier is frustratingly unpredictable — it often moves meshes to odd places and doesn’t allow regular objects as curves.
For more advanced setups, it’s practically unusable. That’s why I made a custom curve modifier using Geometry Nodes, which offers far more control and flexibility.
Source Files
Start by converting your mesh into a curve using the Mesh to Curve node. Capture each point’s position and separate them into X, Y, and Z components. The X controls the width, Y is used for moving the mesh along the curve, and Z manages the height.
Use the “sample curve node” to align points to the curve by setting Y as a factor, which determines how far along the curve each point moves. To add width, sample the curve’s normal and scale it with X. For height, rotate the normal 90 degrees around the tangent vector (which indicates the curve’s direction) and scale it with Z. These vector operations allow precise control over how the mesh conforms to and moves along the curve.
This setup ensures smooth scaling, flexible transformations, and accurate alignment, creating a powerful custom curve modifier.
Theory


Geo Nodes Screenshots

Main Group

Main Group Inside

Align Points to the Curve Group
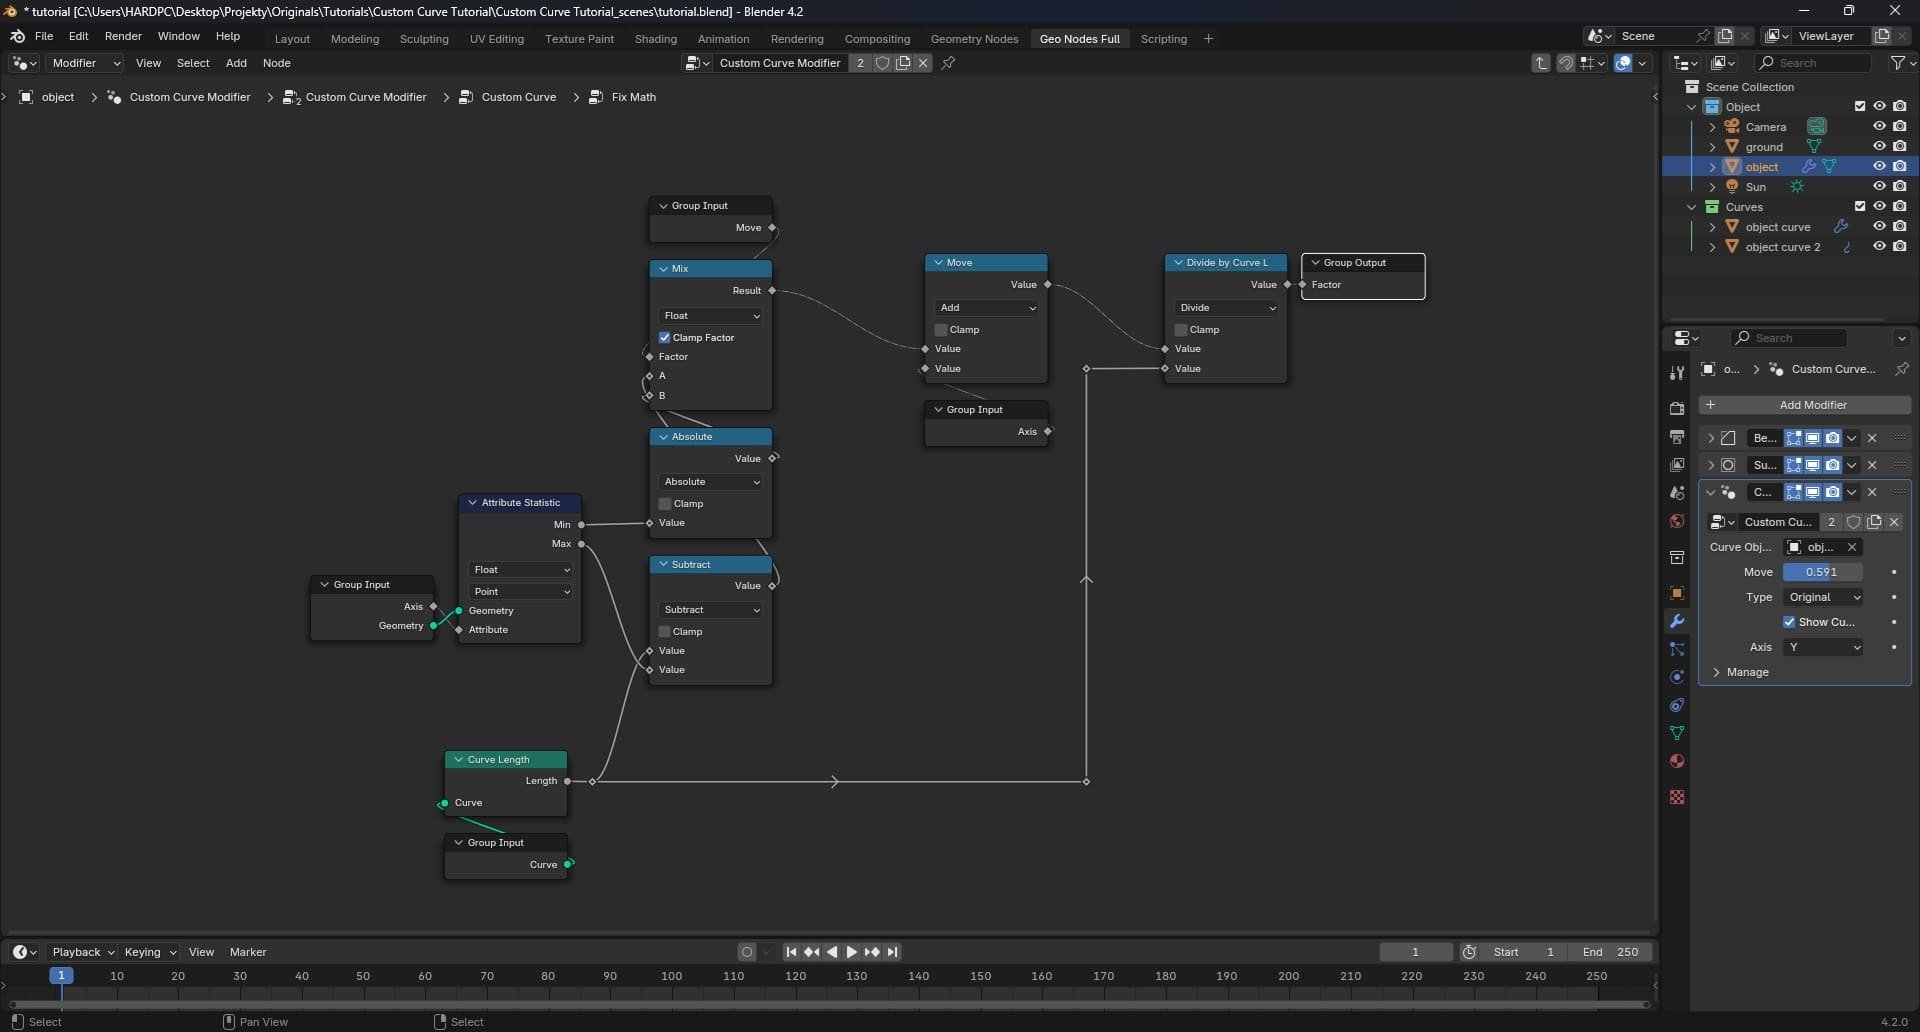
Fix Math Group
